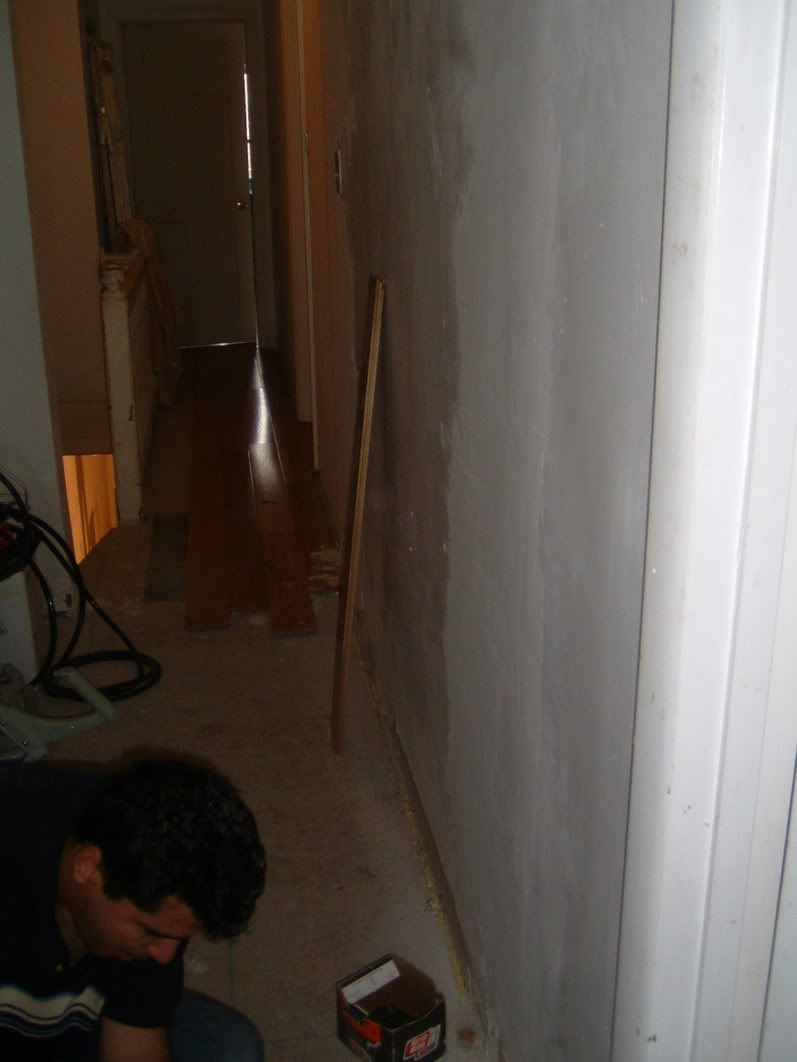
Well, from this first pic, you can see how far along I was with the flooring on the top floor. The flooring I used here and in one of the bedrooms is a 5" wide white oak floor that I got on clearance for $3 a square foot (the much thinner floor that I used in the rest of the house was $3.50 a square foot. I would've liked to have used these wide planks everywhere
- because it looks more like the original wide plank flooring that came with the house
- it's more than twice as wide so it only takes 1/2 as long to install and with half as many cuts
- it's cheaper than the other stuff (.50 a square foot doesn't sound like much, but I have about 1000 sqaure feet to install).
- I think the lighter wood is better if you don't get a lot of natural light.
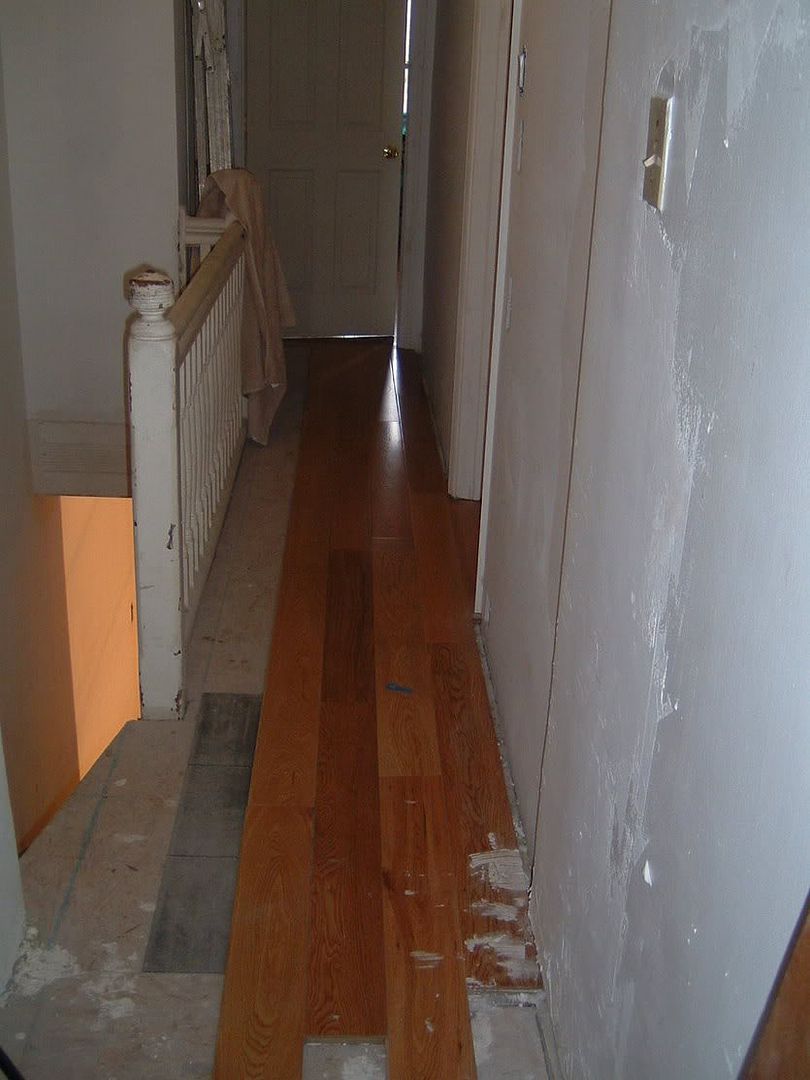
Here is a decent intermediate shot. I stopped about here to fix some sponginess in the subfloor.
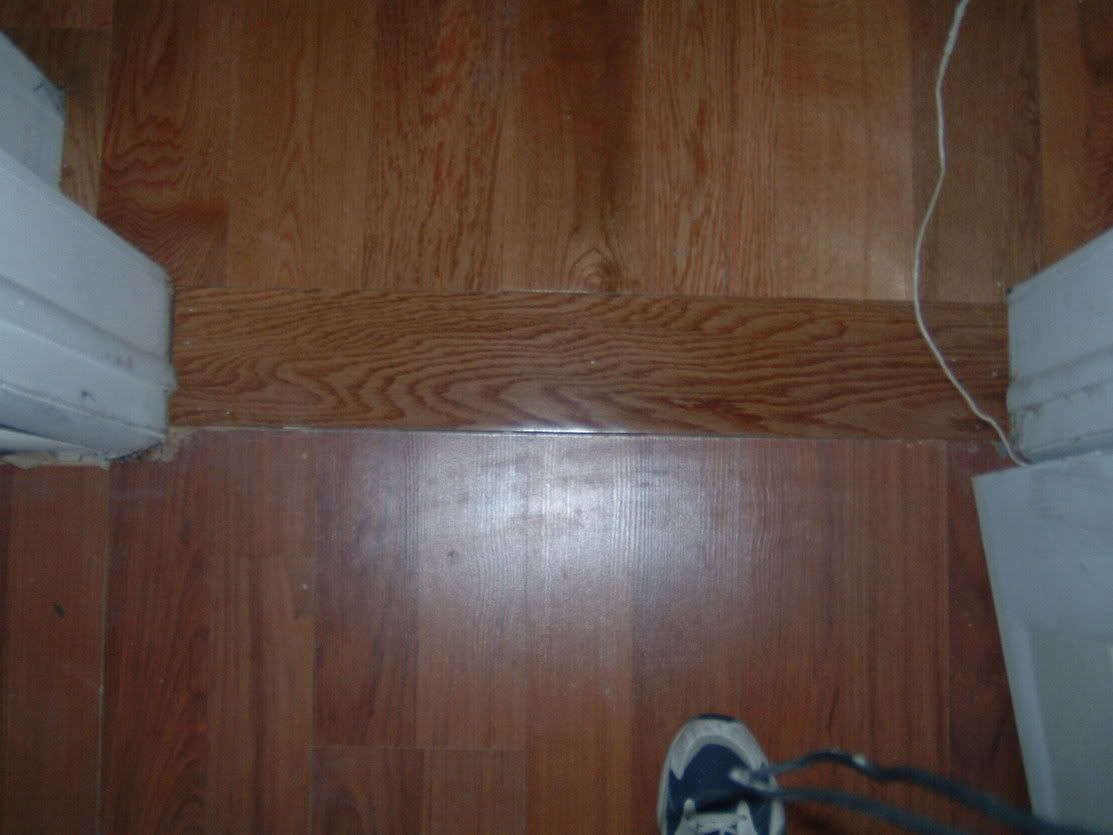
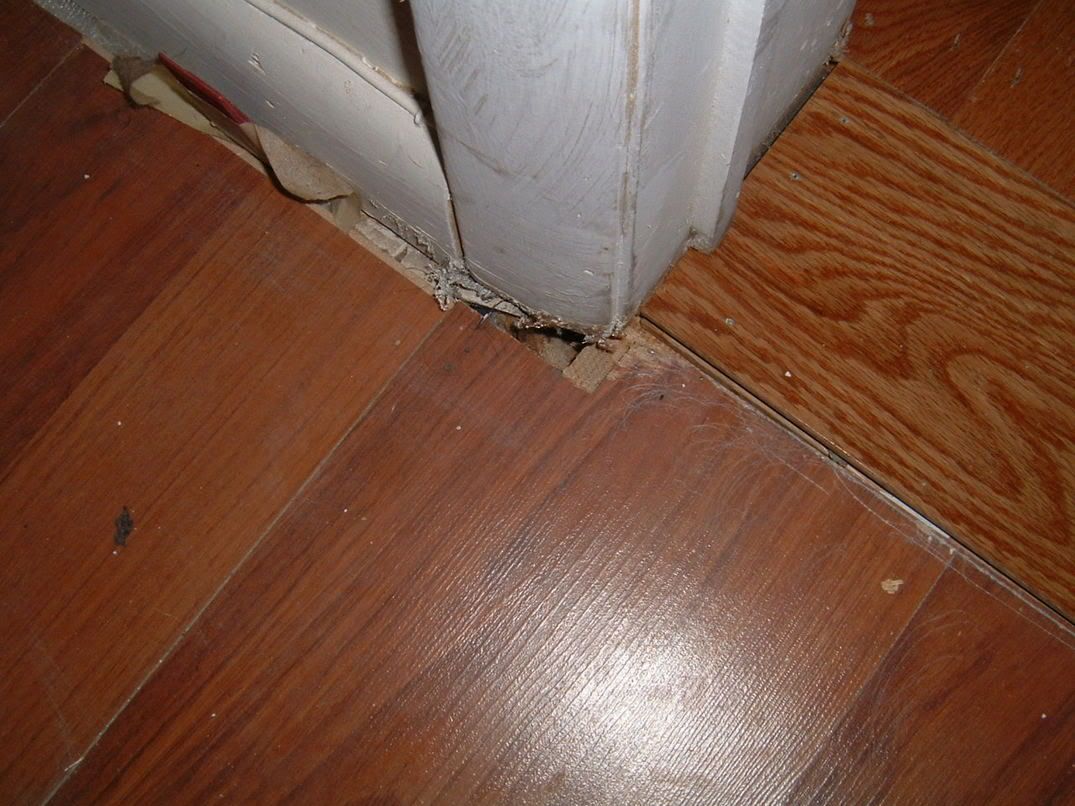
This is the transition to the floor of the only bedroom where I laid pergo instead of real hardwood. I used pergo there because I wanted at least one finished room to live in while I worked on the rest of the house. 3 things:
So that they don't look like this.
Because the Plumbing Monkey and his flunkees used 1/2" plywood instead of 3/4" and because they didn't level the floors properely, I had to use a lot of shingles to level the floor out (or some left over pergo occassionally).
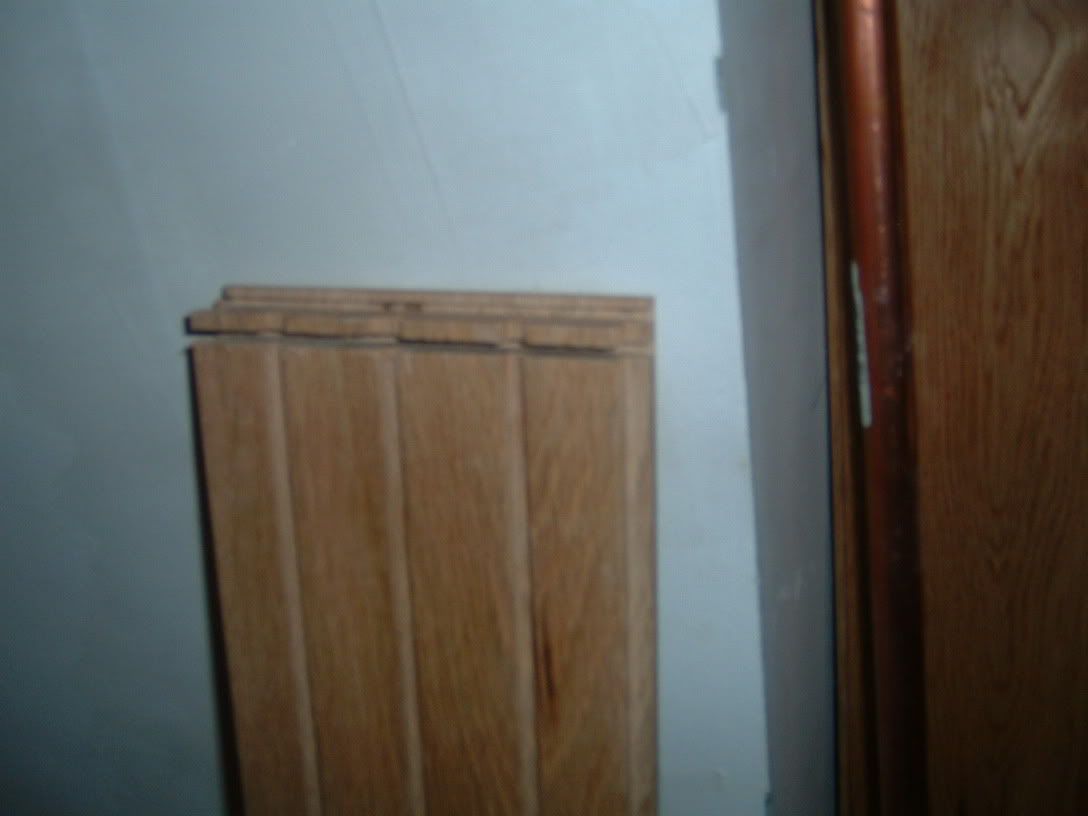
I cut the tongue and some fo the bottom off the groove so that I could change it from a male to female piece so that it would connect right with the honey oak flooring in the bedroom (where I started laying it from the other side of the room).
Well, this is what the inside of the closet looked like. 1⁄2” plywood is not strong enough for my tastes, but at least it’s better than a big hole in the floor. Great workmanship, Monkey boy! I swear I should’ve fired that moron the first week, or enrolled him in the special Olympics.GRRRrrrrrrrr!!!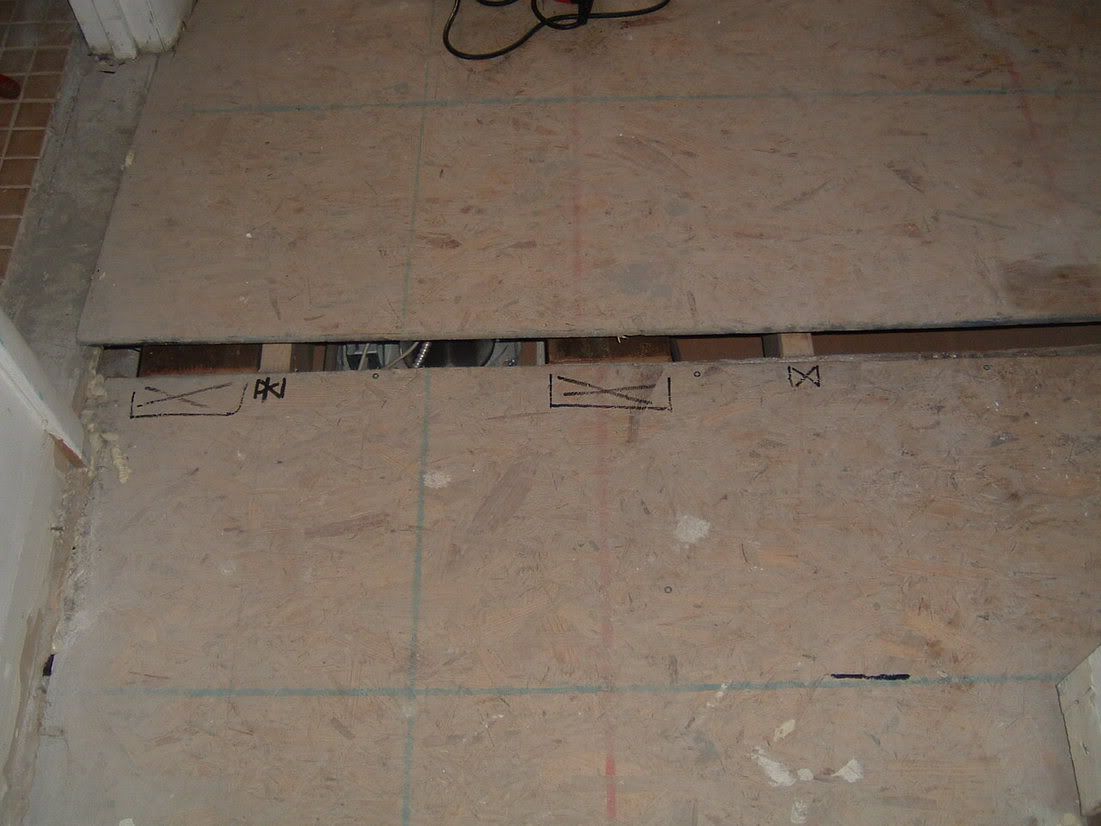
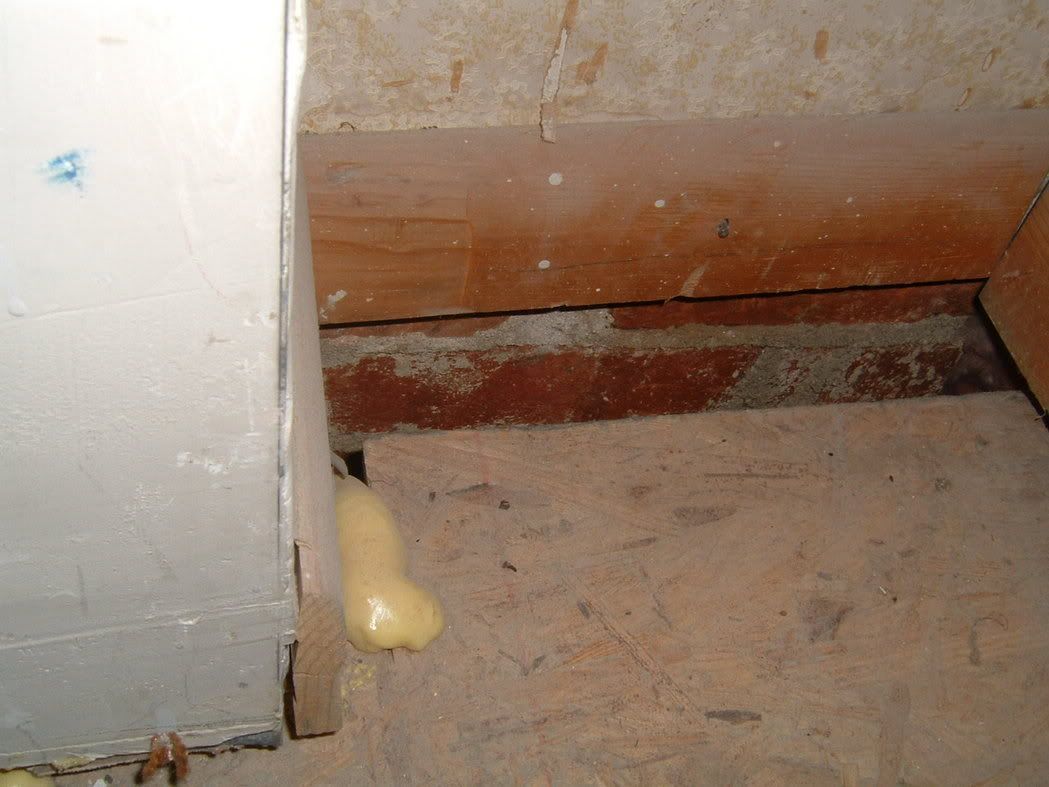
And he did, but wouldn't you know, when he screwed the subfloor to the joists, almost every screw missed the joist by 1/4" or so.
Newflash to braniac: in really old houses, sometimes the joists aren't exactly 16" apart.
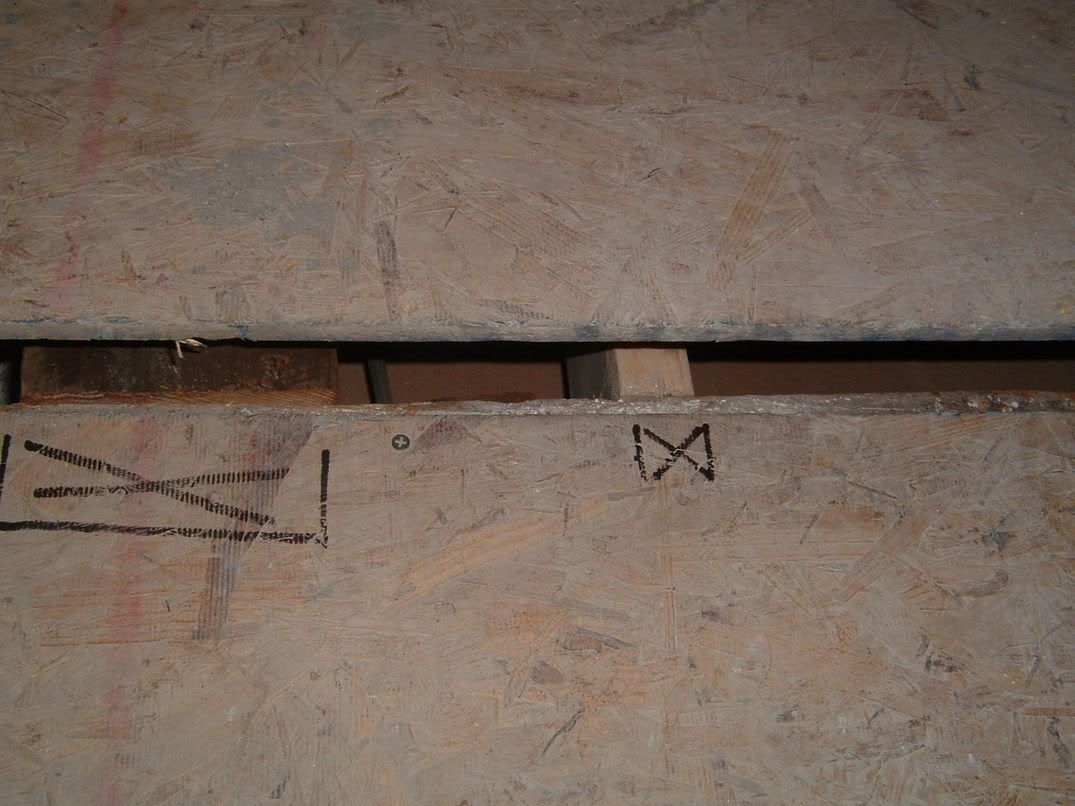
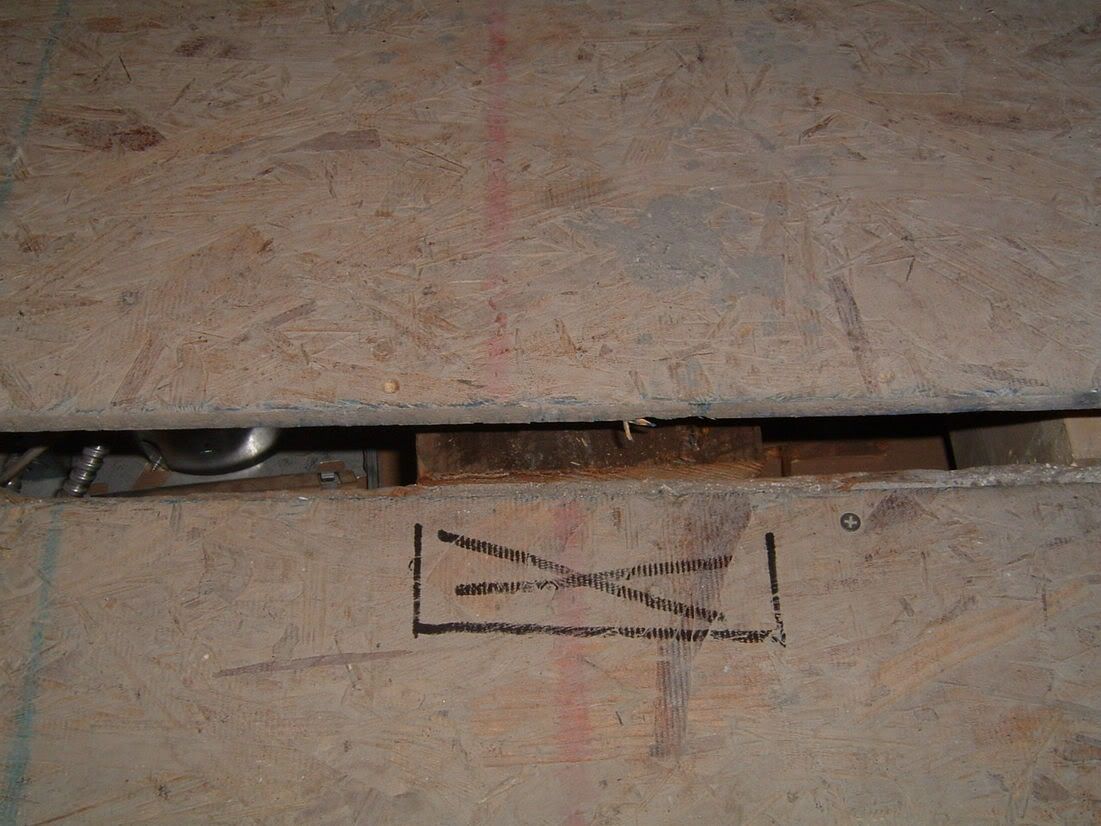
On this shot I think you can tell that screws missed the bracing (and the joist) by about 1/2". I guess they don't have that "if at first you don't succeed, try, try again" saying in Plumbing Monkey's hometown.
Because I like my screws to go into the joists (as opposed to into the air), I marked where they are.
And here is what the finished floor looks like.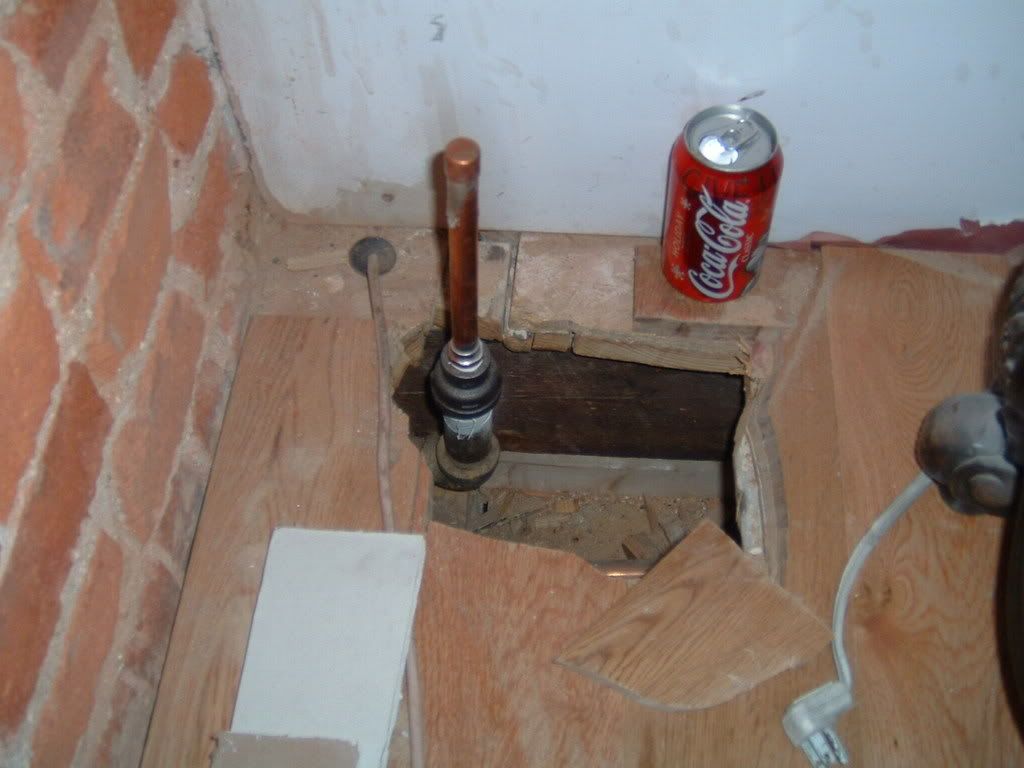


5 comments:
Great job man! You are for sure the King Ninja of leveling and installing flooring. Love the idea of using shingles to level. I have had to do some flooring work in my house but not to the extent of yours. I have experienced the nightmare of working on radiators and plumbing tho.
Hope you don't mind me commenting, but I had to say your floor looks great! My hubs and I will attempting this at some point down the road in our home, so it's a nice reference.
Thanks for the compliments. I'll try to post some finished pics of the flooring in the bedrooms and talk about where I made mistakes...errr, I mean improvisations.
Well done, I can only imagine how hard it is to put flooring in. I imagine it's hard, because the house we just moved into (a rental, thank goodness) has flooring that's so tilted I get a little seasick if I stay in one place in a room too long. We had a small plumbing accident a few weeks ago and the plumber kept saying as he moved around the kitchen, with animated hand gestures, "Whoaaa! Whoa! I'm slipping down the floor! Ho ho!" Everyone's a comedian.
So, good work!
Yep, great job. Nothing left from the old crap which I saw in the first pictures. It's so good, the only thing is needs it some crazy fancy closet organizer to send it in the luxury listings ;)
Post a Comment