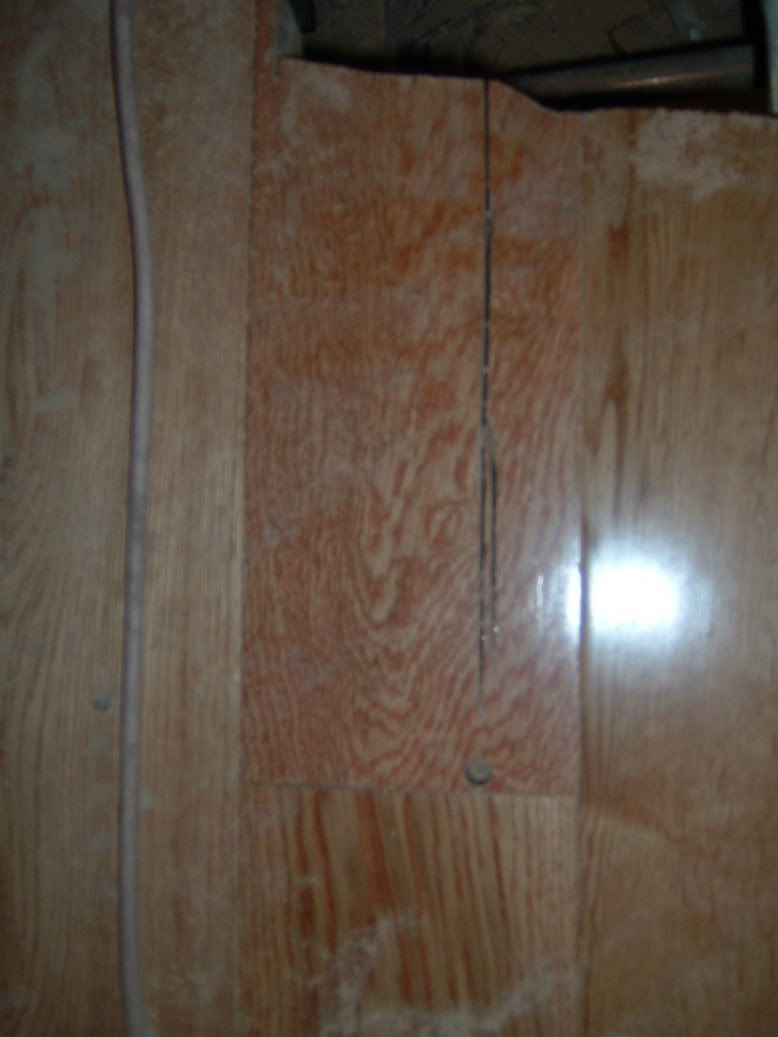
I started by cutting a groove in the pieces that I needed to take aout with a circular saw. I also drilled a hole on the end so that I wouldn't be cutting too close to the end with my circular saw (didn't want to damage the adjoining piece).
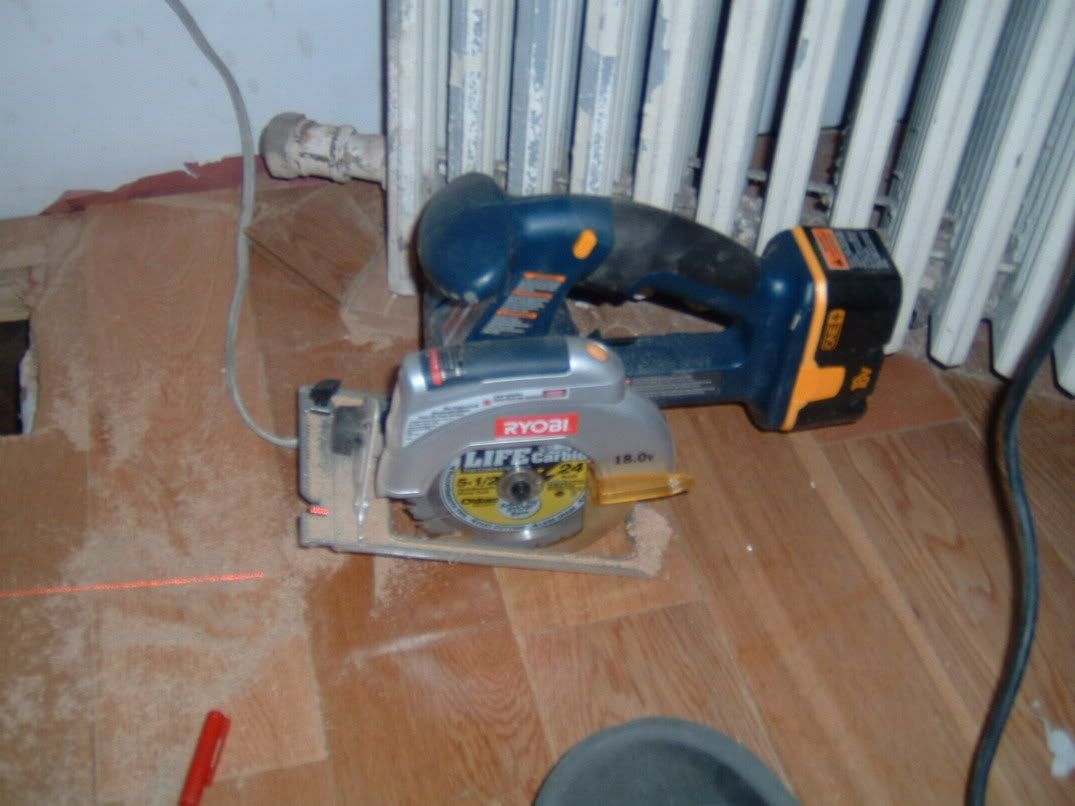 This is the circular saw I used. I borrowed it from my freind Easy Rider. I lent Easy Rider and his fiance, Maple Leaf, a mitre saw that I wasn't using so they could do some molding at their place and I borrowed their circular saw to do this project. By the way, there's nothing wrong with your monitor. That saw has a freakin' laser attacthed to its head.
That's almost as good as a shark with a freakin' laser attatched to its head.
I should mention that I am old fashioned and I don't have ANY cordless tools (except for a cordless screwdriver that I have no idea how it came into my posession). I only use stuff with cords because I don't think cordless has the power I need. I usually think that if something's not working out, I just need a bigger, more powerful tool and I can get the job done. But this cordless worked surprisingly well. Maybe I'll give up my dinosaur ways and get a cordless drill next.
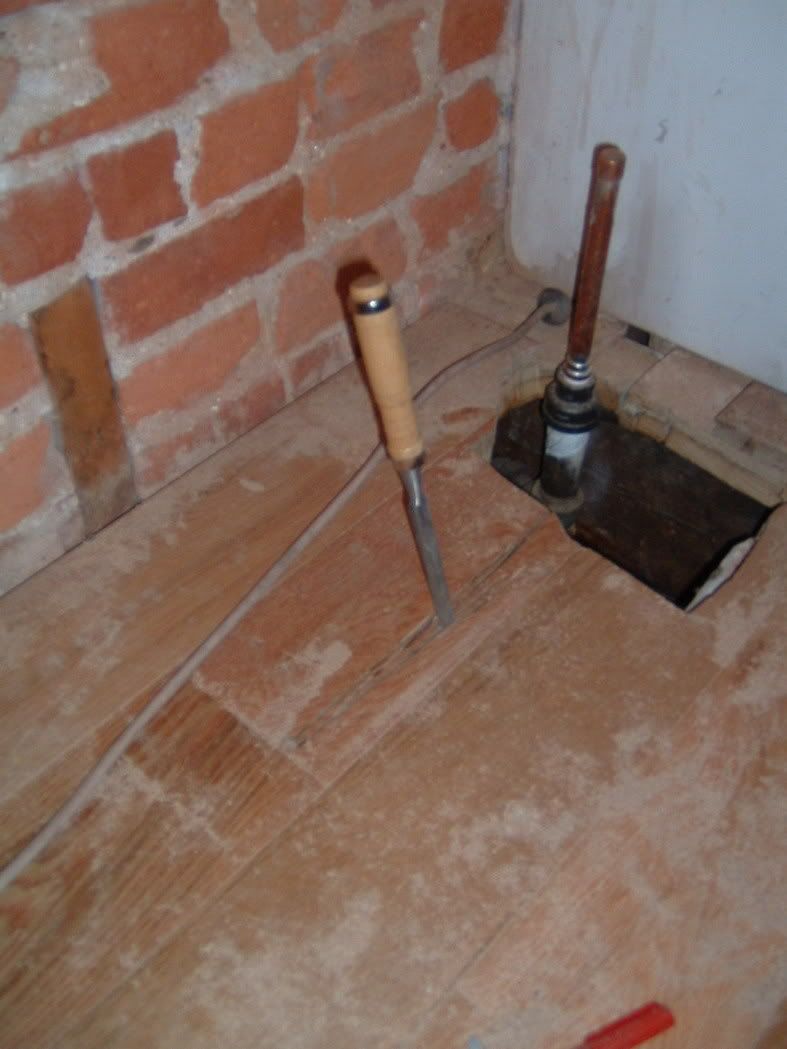 After I cut a gouge in the wood with the circular saw, I chiseled out the planck that I needed to remove. This was pretty difficult since the chinese chisels I got from Harbor Freight kinda' sucked. I have gotten good stuff from them in the past, but these chisels really suck the big onee.
Then I pried it out with a chisel and/or pry bar.
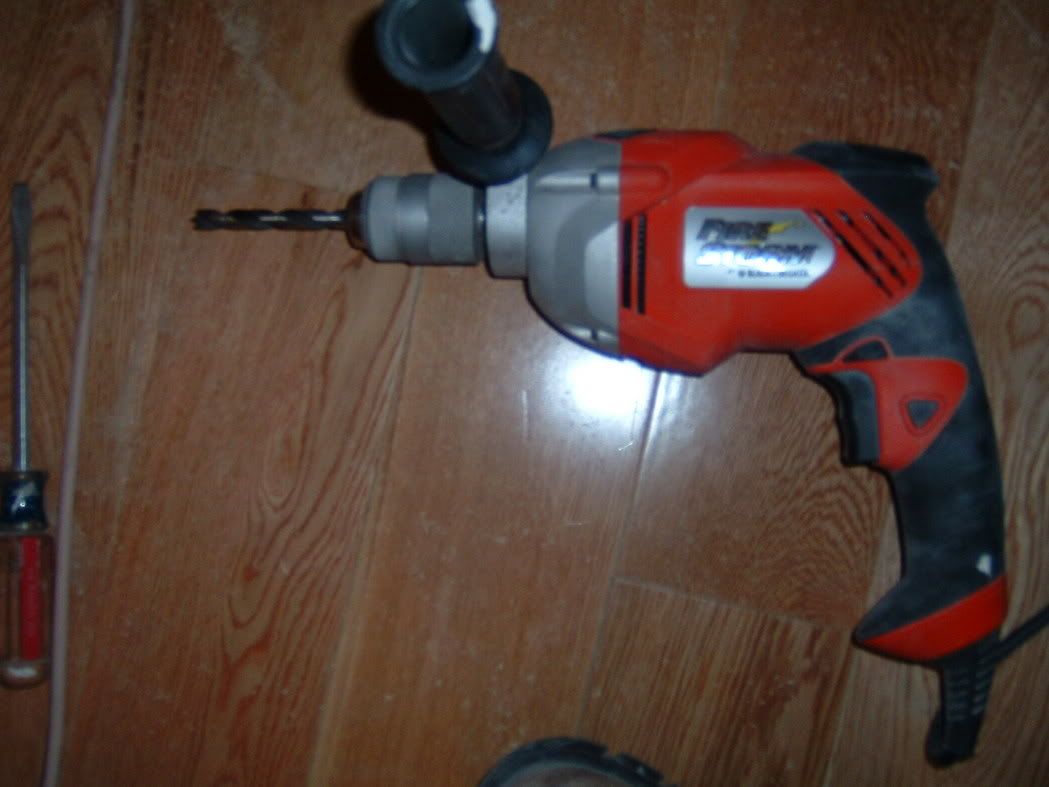
This is the drill I used. It's a Black & Decker Firestorm series. I don't mind giving them a free plug (but I would whore myself and endorse them for cash if they offered it). I also have an angle grinder and jigsaw by B&D Firestorm. It's nice suff, definitely worth the money.
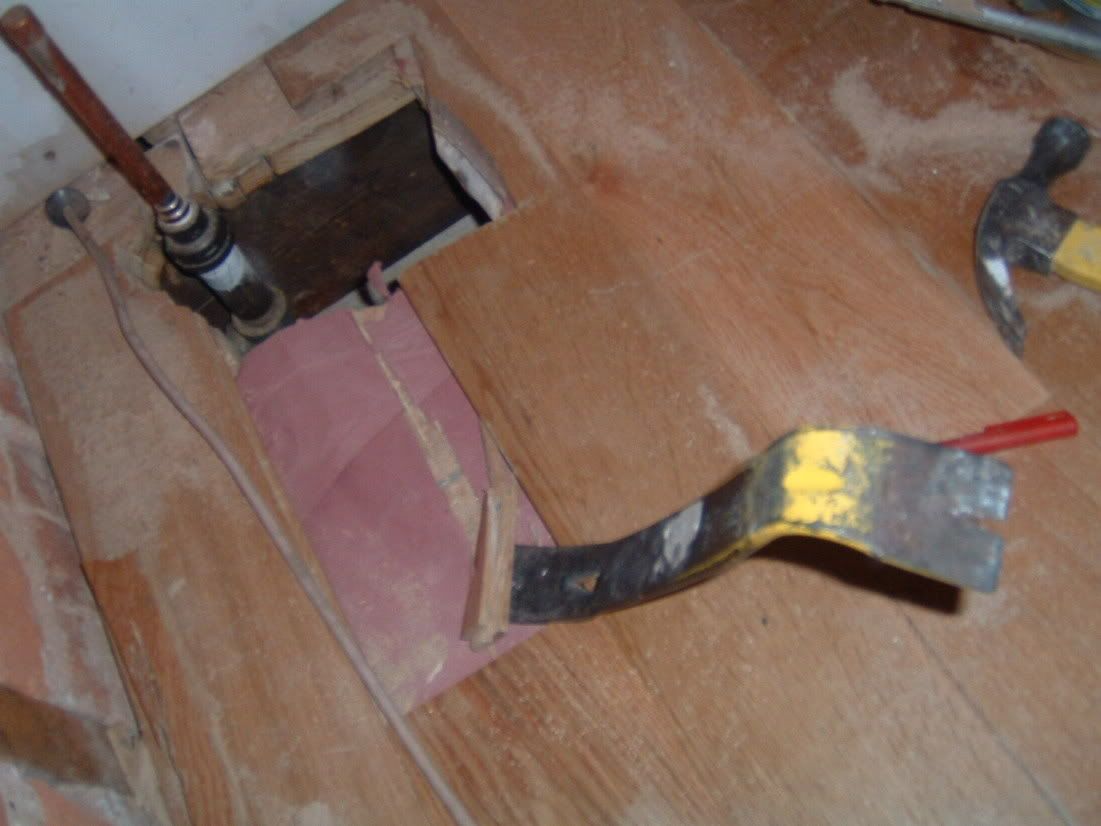 Here is a simulation of what it looks like to pry the wood out with the pry bar (if you have invisible hands).
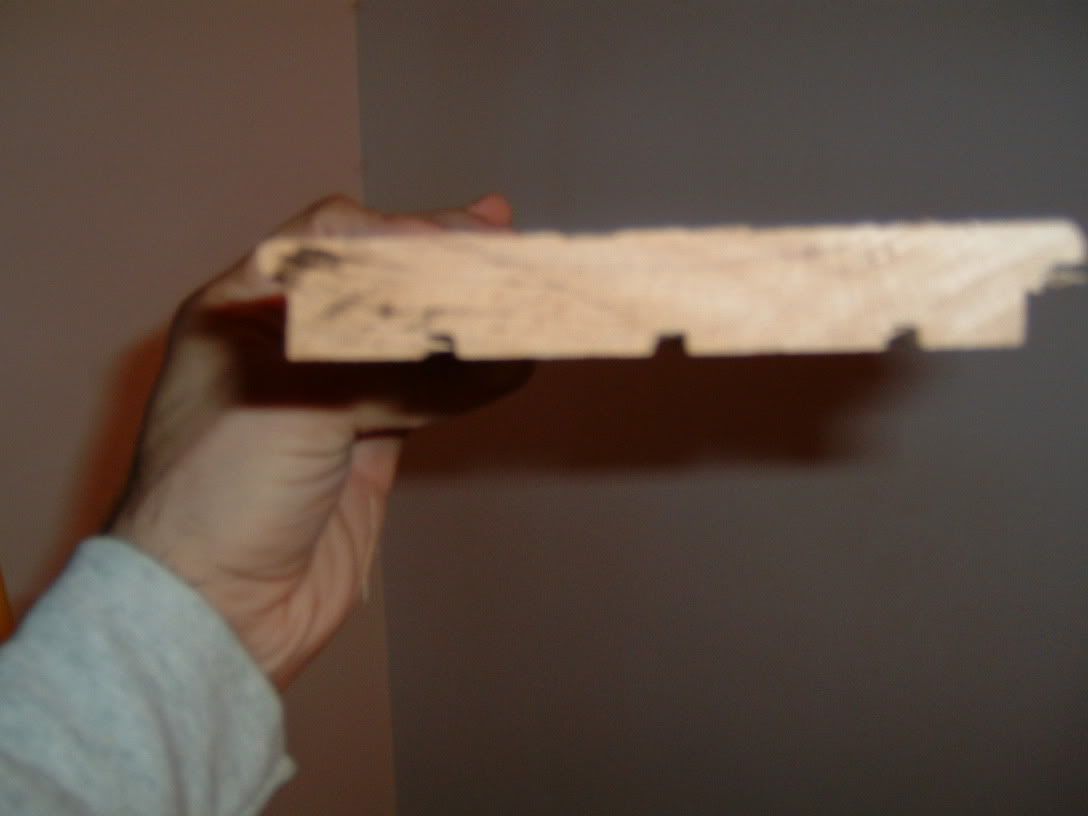
On the new replacement piceces of wood, I cut the tongue and the bottom half of the groove off so that I could drop the wood into the existing holes. Without cutting the toungues and grooves of, I wouldn't have been able to wedge them in.

Okay, I couldn't figure out how to fix that hole without spending a half a day bracing it from underneath. Then I had a good idea. It was bordeline genius, if I do say so myself. I added these deck supports underneath. It's at least as strong as 3/4" plywood. and I installed it in like 45 seconds...Sweet!
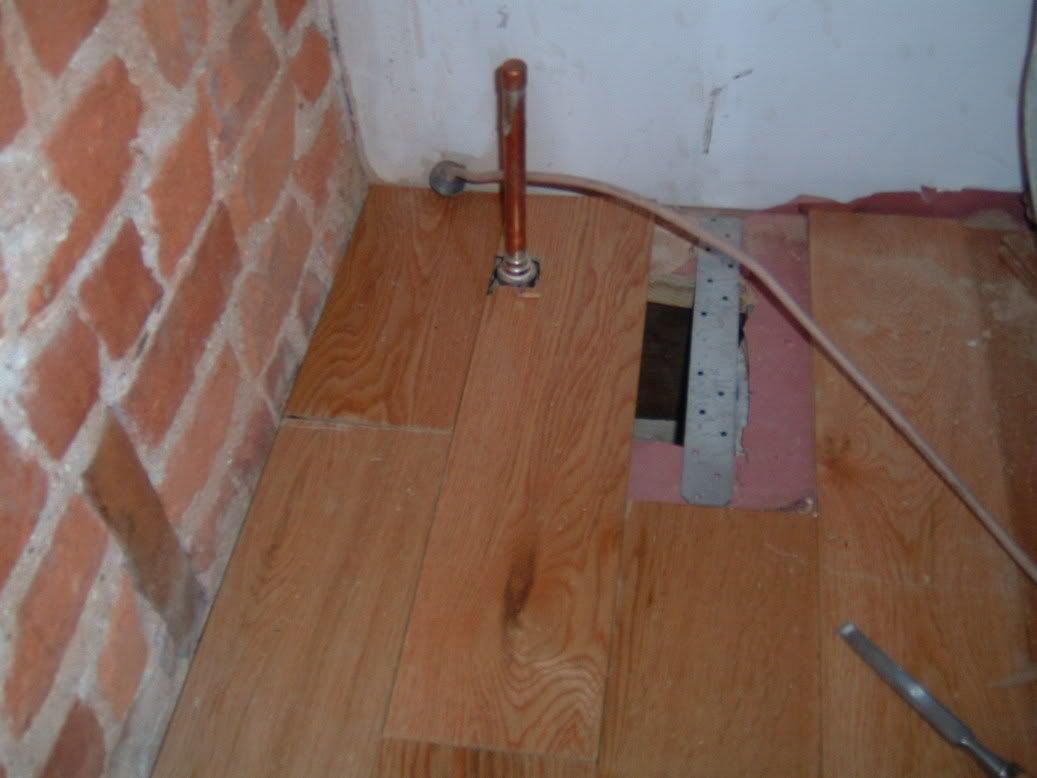
Then I carefully cut around the pipe and finished fixing the hole with new boards.

Like this....now all I have to do is re-connect the radiator and I can blog without the help of the little space heater that could.
No comments:
Post a Comment